


Trampoline and snow scooters: what are they and why aren’t they freestyle scooters?
21. October
Entire article
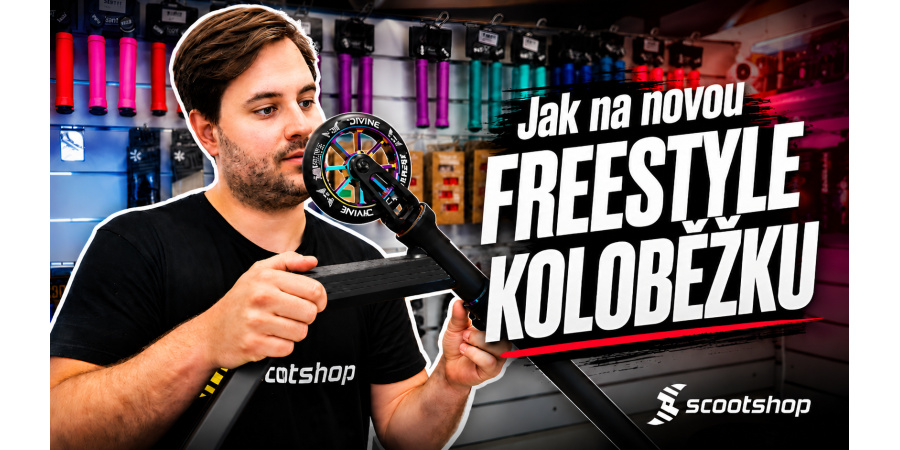
Did you buy a new freestyle scooter? Great. Before you take it to the skatepark or the street, you need to assemble it correctly, tighten it, and check it.
With a new scooter, it may happen that some parts "settle" during the first rides. If you prepare it correctly right from the start, you will avoid knocking, play, loose screws, or unnecessarily rapid wear.
In this article, we will show you what to do before your first ride and what to watch out for.
If you have purchased a complete freestyle scooter, a ready-made factory setup, watch our video guide:
In the video, you will see how to unpack, assemble, tighten, and properly handle the scooter to ensure it lasts as long as possible.
If you have bought a custom scooter, meaning a scooter assembled from individual parts, check out the tutorial for custom setups:
Custom scooters can have various combinations of parts, compression systems, clamps, and handlebars, so it's important to check especially for proper tightening and compatibility of the individual components.
After unpacking the scooter, take a few minutes for a basic inspection. It's nothing complicated, but it can save you a lot of trouble.
Check mainly:
If something is rattling, loosening, or not turning as it should, it's better not to ride the scooter immediately and resolve the issue first.
For most new freestyle scooters, it is necessary to install the handlebars onto the fork after unpacking.
The procedure is simple:
It is important not to overtighten the screws with excessive force. They should be tightened firmly, but not so much that the thread or socket is damaged.
Before your first ride, take a look at the wheels.
The wheels should rotate freely and should not have any lateral play.
For the brake, check if:
In freestyle scooters, the rear brake is often used mainly for tricks.
If you keep standing on it or brake long hills with just the rear brake, the wheel can wear out quickly or a flat spot can form.After assembling the scooter, we recommend performing a simple test.
Lift the scooter a few centimeters above the ground and gently let it drop onto the wheels.
If there is a strong knocking, rattling, or metallic banging, something is likely not tightened properly.A slight sound is normal for freestyle scooters, but significant rattling usually means it's necessary to check:
With a new scooter, it is normal for some parts to settle a bit after the first rides. Therefore, we recommend more frequent checks during the first few days.
Ideally, quickly check after each ride:
It takes a few minutes, but it will significantly extend the lifespan of the scooter.
A freestyle scooter is not designed for riding in water. Rain, puddles, and moisture can mainly damage bearings, screws, and other metal parts.
When water gets into the bearings, the wheels may start to turn less smoothly, make noise, or eventually seize up completely.
Therefore, we recommend:
The griptape keeps your feet on the deck, but it also wears down the soles. The best are skate shoes or shoes with a flatter sole.
Mainly unsuitable are soft running shoes, which can quickly wear out on the griptape and may not hold well during tricks.
If you want your griptape and shoes to last longer, avoid riding in mud, water, and dirty environments.
The rear brake on a freestyle scooter is not designed for long, steep braking downhill. If you stand on it too often, you can quickly damage the rear wheel.
A typical problem is a "flat spot" on the wheel.
This means that the wheel wears down in one spot and then vibrates or rattles while driving.Better is:
If you hear strange rattling, clattering, or feel play in the handlebars during the ride, do not continue unnecessarily.
A freestyle scooter takes a lot of impact during tricks. A small problem can quickly turn into a bigger issue.
To ensure your scooter lasts as long as possible, just follow a few simple rules:
A well-maintained scooter is quieter, sturdier, and most importantly, safer.
Before you set off on your first ride, mainly check:
Proper assembly and initial inspection will only take a few minutes, but it can significantly extend the lifespan of the entire scooter.
If you are unsure about the assembly, tightening, or if something doesn't seem right with the scooter, contact us. At Scootshop, we are happy to help you with the selection, maintenance, and service of a freestyle scooter.


